
Want healthier plants in your grow tent? Start by mastering light intensity. Light directly impacts plant growth, so getting it right is crucial. Here's what you need to know:
- Measure light levels using tools like PAR meters or apps (less accurate).
- Match light to growth stages: Seedlings need less light (200–400 PPFD), while flowering requires more (600–900 PPFD).
- Adjust light height and intensity based on plant needs and avoid light burn or low-light issues.
- Use LED grow lights for energy efficiency, even coverage, and spectrum control.
Key Tip: Regularly monitor light levels, use reflective surfaces for better distribution, and watch for signs of stress like leaf bleaching or stretching. Healthy lighting = healthy plants.
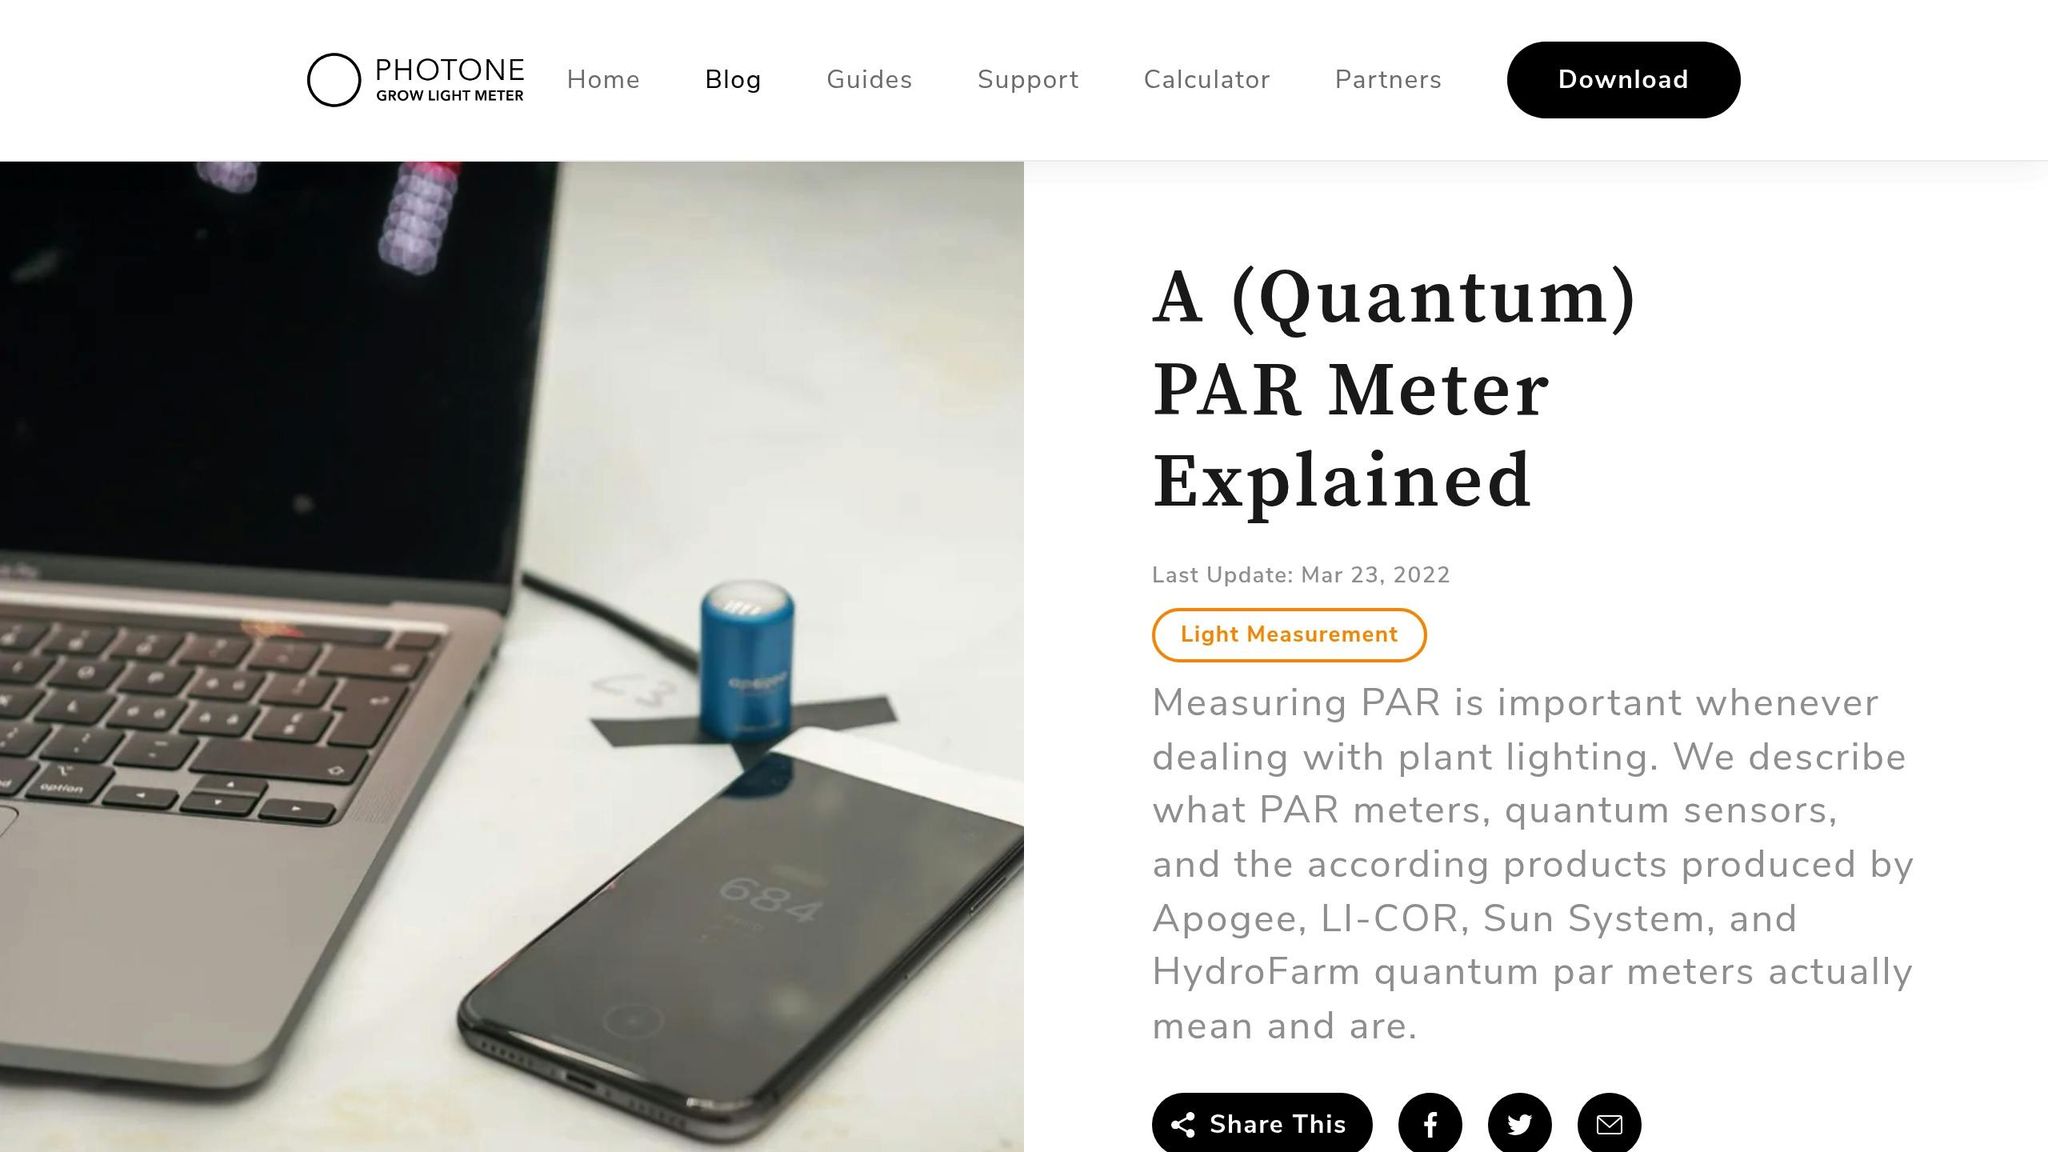
How to use a PAR meter to measure light levels in your grow ...
Light Intensity Core Concepts
Getting the basics of light intensity right is key to creating the perfect environment in your grow tent. This knowledge helps you measure and adjust light levels accurately as you go.
Light Measurement Terms
When it comes to measuring light intensity, three main metrics are used:
- Lux: Measures visible light intensity as seen by the human eye. While useful, it's less accurate for assessing plant growth.
- PPFD (Photosynthetic Photon Flux Density): Tracks the number of photons reaching plants, measured in µmol/m²/s.
- PAR (Photosynthetically Active Radiation): Covers light wavelengths between 400–700 nanometres, which plants use for photosynthesis.
"Plants have an optimal intensity of light. This is the point at which the process of photosynthesis is maximised and plant growth is greatest. If the level of light is less, growth is reduced. The point where an increase in light intensity will not increase photosynthesis any more is called light saturation." - NSW Department of Primary Industries
Light Needs Per Growth Phase
Plants require varying light intensities depending on their growth stage. Here's a quick breakdown:
| Growth Stage | PPFD (µmol/m²/s) | Lux Range |
|---|---|---|
| Seedling | 200–400 | 10,000–32,000 |
| Vegetative | 400–600 | 35,000–70,000 |
| Flowering | 600–900 | 55,000–85,000 |
Plants typically hit peak photosynthesis at blue light wavelengths (around 450 nm) and red light wavelengths (around 650 nm). Watch for signs of light stress, like leaf bleaching or nutrient issues, to ensure you're not overdoing it.
Grow Light Options
LED grow lights are a popular choice for grow tents, offering energy efficiency and precise control. Here are some key features:
- Bar-style LEDs: Provide even PPFD distribution and better heat management compared to traditional panel lights.
- Smart Controllers: Let you fine-tune light intensity throughout different growth phases.
- Spectrum Control: Allows you to adjust light wavelengths to match the needs of each stage.
Modern LED grow lights can reach efficiency levels of up to 2.8 µmol/J, delivering strong light penetration with minimal heat.
"Spectrum and intensity interact in how they affect plant development. A spectrum that is optimal for plant development at a relatively low intensity may not be optimal for plant development at a high intensity, and vice versa." - Fluence Bioengineering
With these tools and insights, you’ll be well-equipped to measure and manage light levels in your grow tent effectively.
How to Measure Light Levels
Light Meter Instructions
To get accurate readings with your PAR meter, follow these steps: place the sensor at the same height as your plant canopy, keep it parallel to the ground, and ensure it's clean and properly calibrated. Take multiple PPFD readings in a grid pattern, spacing them about 30 cm apart, and calculate the average. Remember, when you double the distance from the light source, the intensity drops to one-fourth.
Reading Light Specs
Here are the key light specifications to pay attention to:
| Specification | Description | Recommended Range |
|---|---|---|
| PPFD (µmol/m²/s) | Light intensity at specific distances | 100–1,200 |
| Coverage Area (m²) | The space the light effectively covers | Depends on tent size |
| Maximum Output | Highest possible intensity | Up to 2,000 PPFD |
Healthy plants can tolerate PPFD levels between 1,500–2,000 µmol/m²/s for short periods, but sticking to around 1,200 µmol/m²/s during a 12-hour lighting cycle is a safer option. If you don’t have a PAR meter, there are alternative ways to estimate light levels, though they may not be as precise.
Phone Apps for Light Reading
Smartphone light meter apps can offer a rough estimate of light levels. Locate the light sensor on your phone (usually near the front camera) and ensure it’s unobstructed. Take readings at consistent heights and angles throughout your grow space. Keep in mind that most apps measure in lux rather than PPFD and may struggle with accuracy under intense light. For precise measurements, a dedicated PAR meter is still the best option.
sbb-itb-28a8941
Setting the Right Light Level
Light Height Setup
How you position your lights plays a big role in how well your plants grow. For LED lights, use the following height and intensity guidelines:
| Growth Stage | PPFD (µmol/m²/s) | Distance (cm) |
|---|---|---|
| Seedling | 400 | 60–90 |
| Vegetative | 400–800 | 30–60 |
| Flowering | 800–1,200 | 45–60 |
Keep the leaf surface temperature below 29°C. If you're using HID lights, try the "hand test" at canopy level - hold your hand there for 30 seconds. If it feels uncomfortably hot, raise the light.
Once you've set the height, adjust the light intensity to suit your plant's current growth stage.
Light Dimming Steps
Start with a lower light intensity and gradually increase it as your plants grow stronger and can handle more light:
- Seedlings: 400 µmol/m²/s
- Vegetative stage: 400–800 µmol/m²/s
- Flowering stage: 800–1,200 µmol/m²/s
Light Coverage Tips
After getting the intensity right, make sure the light is evenly distributed:
- Place your main light centrally to take full advantage of reflective Mylar surfaces.
- For larger grow tents, consider using multiple lights to cover all areas.
Keep an eye out for signs of uneven light distribution, like:
- Plants stretching or leaning toward the light
- Differences in leaf size or colour
- Uneven growth rates in different areas
If you're working with a larger setup, divide it into zones, each with its own light source. Overlap light spread patterns to avoid dark spots. Rotating your plants every 3–4 days can also help ensure they all get equal exposure.
Fixing Light Problems
After measuring and setting your light levels, tackle common issues to keep your plants thriving.
Light Burn Solutions
Light burn happens when plants get too much light, often affecting the upper leaves. Look out for these signs:
- Yellowing on top leaves while veins stay green
- Leaves pointing upwards
- Bleached patches on upper foliage
- Slowed growth, even when other conditions seem fine
Use your PAR meter readings to address these problems effectively:
| Symptom | Fix | Prevent |
|---|---|---|
| Yellowing top leaves | Increase the distance between light and plants | Regularly check light intensity with your PPFD meter |
| Bleached spots | Lower light intensity | Ensure even light distribution |
| Upward-pointing leaves | Adjust light position and improve airflow | Maintain good ventilation |
Dealing with these issues quickly helps reduce plant stress and supports healthy growth.
Low Light Fixes
If your plants are stretching or have sparse foliage, they might not be getting enough light. Here's how to fix it:
-
Adjust Light Position
Move your lights closer to the canopy, but keep monitoring the intensity to avoid overexposure. -
Improve Light Distribution
Clean the Mylar surface in your tent to maximise light reflection and coverage. -
Watch Plant Response
Check for tighter node spacing and better leaf growth to see if conditions are improving.
Once you've sorted light intensity, shift your attention to other factors, like avoiding interruptions during dark periods.
Light Leak Prevention
While small pinhole leaks usually aren't a big deal, larger leaks can disrupt flowering and need fixing.
To find leaks:
- Inspect your grow tent during daylight hours.
- Let your eyes adjust to the dark inside.
- Look for any light seeping in.
- Pay close attention to seams, ports, and ducting areas.
Here’s how to seal those leaks:
- Use black silicone or duct tape to patch holes.
- Tighten drawstring ports around ducting.
- Cover any equipment indicator lights.
- Check zippers for gaps and ensure they’re fully closed.
"Any exposure to natural light during 'lights off' can be a disruption. At best, plants will become stressed and your yield will be dented. At worst, you can get genetic abnormalities." - GroWell
Summary
Managing light effectively in your grow tent requires regular checks and careful adjustments. By focusing on a few essential practices, you can create the best conditions for your plants to thrive.
Pay attention to your plants for signs of improper light exposure. Too much light can lead to nutrient issues and leaf bleaching, while too little light may cause plants to stretch and grow weak.
Since plants need different light levels at various growth stages, adjust your light settings - such as dimming and fixture height - accordingly throughout the cycle.
Use monitoring tools alongside visual checks to fine-tune your setup. These steps are crucial for maintaining the ideal environment.
Regular maintenance is also key to keeping your grow tent in top shape. Here are a few tasks to include:
- Clean reflective surfaces to improve light efficiency.
- Check for light leaks during dark periods.
- Rotate plants to ensure even light exposure.
- Test light intensity on a regular basis.
FAQs
How can I tell if my plants are stressed by light, and what can I do to fix it?
Plants showing light stress often exhibit symptoms like yellowing or bleaching leaves, stunted growth, leaf drop, or changes in leaf colour and shape. You may also notice reduced vigour, scorched leaves, or leaves drooping or curling. These signs indicate your plants may be getting too much or too little light.
To reduce light stress, try raising your grow lights, dimming them, or increasing the distance between the lights and plants. You can also adjust the light schedule or increase humidity to help plants recover. For plants suffering from low light, move them to a brighter spot, extend light exposure duration, or prune to improve light penetration and airflow. Keep an eye on your plants and adjust gradually for the best results.
What makes LED grow lights a better choice for grow tents compared to other lighting options?
LED grow lights provide several key benefits for grow tents, making them a popular choice among growers. They are highly energy-efficient, consuming less electricity while delivering the same or even better light output. This not only reduces electricity bills but also lowers the operation's carbon footprint.
LED lights can be tailored to emit specific wavelengths, allowing growers to optimise light conditions for each stage of plant growth. They also produce significantly less heat compared to other lighting options, which helps maintain a stable temperature in the grow tent - ideal for plants sensitive to heat. Additionally, LED lights have a long lifespan, often lasting tens of thousands of hours, reducing the need for frequent replacements and saving money in the long run.
How often should I adjust the light intensity and height of grow lights in my tent for each plant growth stage?
To ensure healthy plant growth, adjust the light intensity and height in your grow tent based on the plant's growth stage.
- Germination stage: Position the lights higher, around 50–100 cm above the plants. This prevents excessive heat and light intensity that could harm delicate seedlings.
- Vegetative stage: Lower the lights to approximately 45–60 cm to provide stronger light for optimal growth.
- Flowering stage: Plants require the most intense light. Gradually reduce the distance to 30–45 cm, but keep an eye out for any signs of light stress, such as leaf discolouration or curling.
Always monitor your plants closely and make small adjustments as needed. Factors like the type of grow light and plant species can influence the ideal distance and intensity.